
Cold Weather Photography: Snow, Fog, Ice & Frost Tips

How to Photograph Snow, Fog, Frost and Ice:
My Complete Cold-Weather Photography Guide
(All images were taken in Leavenworth and along the Wenatchee River!)
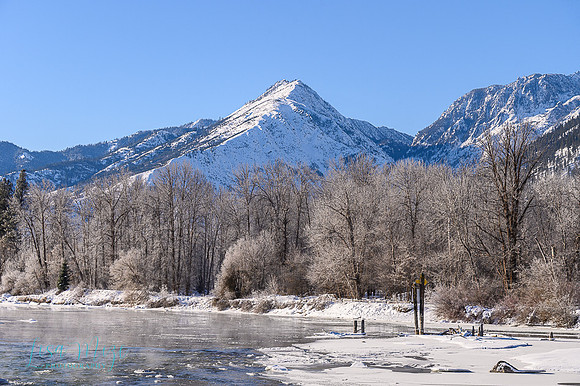

Some of my favorite mornings of the whole year happen when it's so cold my fingers ache, though my electric gloves help that now! The river is steaming, every branch is coated in frost, the fog is drifting through the trees, and then the sun comes up and the whole valley sparkles. If you've ever stood in a scene like that and come home with gray snow, blue snow, or a blank white mess of fog, you are not alone. Winter is beautiful, but it fools your camera in very predictable ways!
The good news is that once you understand what's going on, cold-weather photography gets a whole lot easier. In this post I'm going to walk you through everything I do: exposure and white balance for snow, how to photograph fog, frozen trees and hoarfrost, ice abstracts, alpenglow, shooting into the sun, creating sunbursts, composition ideas, and how to keep you and your gear happy in the cold. Grab a cup of something hot and let's dig in.
1. Why Your Snow Looks Gray (and How to Fix It in Camera)
Your camera's meter wants everything to be middle gray. When you fill the frame with bright white snow, the meter thinks the scene is too bright and darkens it. The result is dull, gray snow and muddy shadows.
The fix: add exposure compensation. In Aperture Priority or Shutter Priority, dial in +0.7 to +2 stops depending on how much snow is in the frame. A scene that's mostly snow usually needs +1.3 to +1.7. If in manual, but auto ISO, you can adjust your exposure compensation, but if you shoot in full Manual, simply let your meter read +1 to +2 instead of zero.
Then check your histogram, not your LCD screen. The back of your camera lies to you, especially in bright light or when your eyes are adjusted to the cold morning. You want the histogram pushed toward the right side without slamming into the right wall. Turn on your highlight alerts (the "blinkies"/"zebras"). A few blinking spots on the sun are fine. Blinking across large areas of snow means you've lost detail, so back off by a third of a stop. (Remove some light.)
2. How to Keep Your Snow White, Not Blue
This is the question I get asked more than any other in winter, so let's take it apart. Snow is white, but it reflects whatever light is hitting it. Snow in shade is lit mostly by the blue sky, so it truly is blue. Your eyes adjust and see it as white; your camera doesn't. Add a little underexposure and an Auto White Balance that gets confused by all that white, and you end up with cold, blue snow everywhere.
In the field
• Shoot RAW. White balance in a RAW file is just a setting you can change later with no loss in quality. This is the single biggest thing you can do!
• Set your white balance to Daylight/Sunny (about 5200–5500K) instead of Auto when the sun is out. It gives you consistent color from frame to frame, which makes editing a series much easier.
• In shade or on overcast days, try Cloudy or Shade, or set a Kelvin around 6000–7000K to warm things up.
• Expose correctly. Underexposed snow always looks bluer and grayer. Getting that +1 to +2 compensation right solves half of your blue problem.
In Lightroom or Camera Raw:
• Use the White Balance eyedropper on a patch of snow that's in light shade or soft light, not the brightest sunlit highlight. That sets the snow to neutral.
• Nudge Temperature and Tint by hand if the eyedropper overcorrects. Small moves: +200 to +500K is often enough.
• Use HSL/Color. Lower Blue saturation slightly and raise Blue luminance to clean up blue shadows in the snow without changing your sky too much.
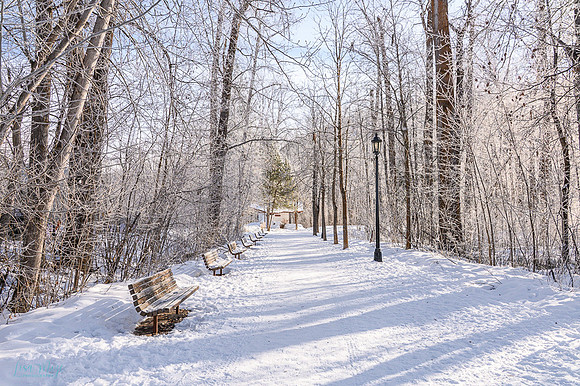
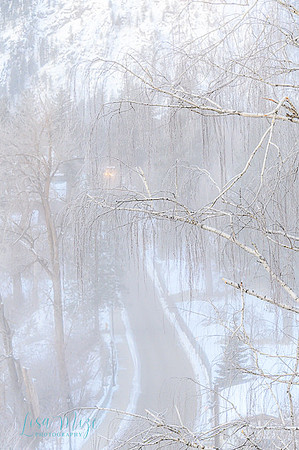
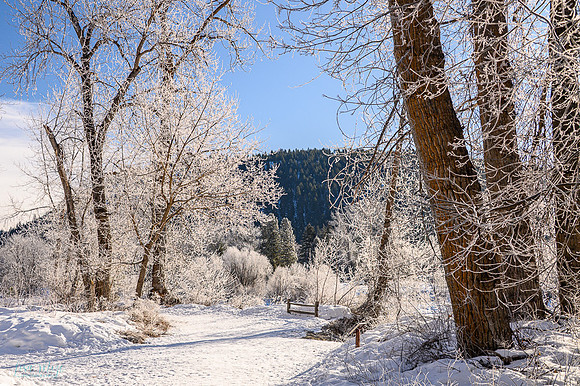
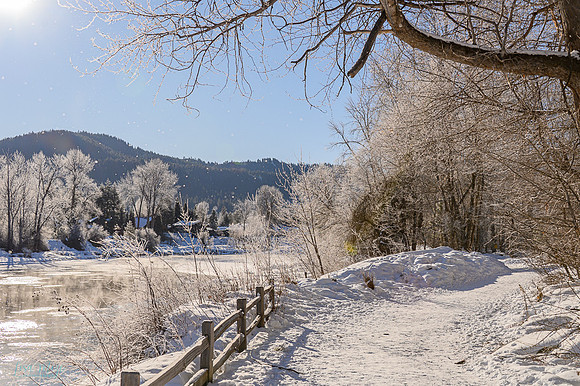
One important note: don't strip every bit of blue out. A little blue in the shadows is what makes a winter scene feel cold and real. Sunlit snow should look white; shaded snow can keep a whisper of cool. Look at the path in the image below: warm light on the frost, cool shadows on the snow, and the snow still reads as white.
3. Photographing Fog
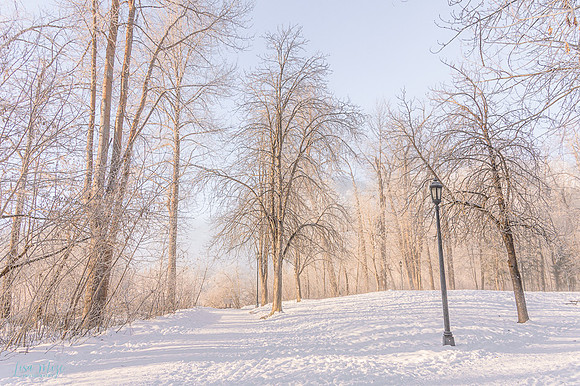
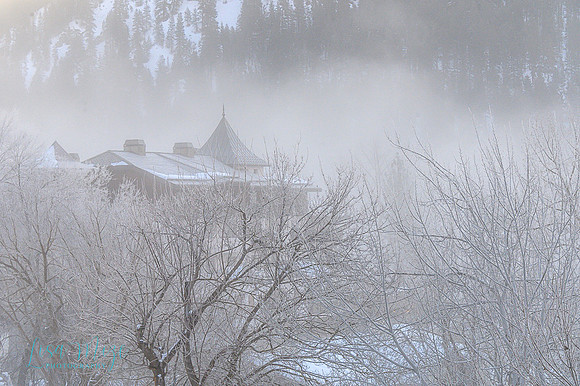
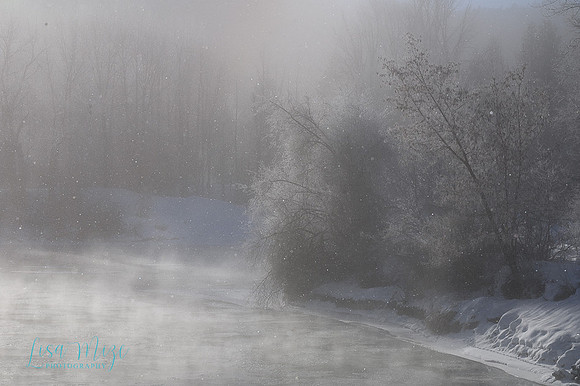
Fog is one of my very favorite things to photograph. It simplifies a busy scene, separates layers, and adds mood you just can't get any other way. But fog fools your meter the same way snow does, so it can help if you do +0.7 to +1.3 stops of exposure compensation to look light and airy instead of murky gray.
My fog tips
• Look for layers. Fog gets thicker with distance, so trees closer to you are darker and more defined and the ones behind fade away. Line up three or four layers and you get beautiful depth!
• Find one strong subject. A single tree, a rooftop, a lamp post. Fog erases the clutter, so let one thing take center stage.
• Use a telephoto. A 70–200mm or 100–400mm compresses those layers and lets you pull out small scenes within the big one.
• Focus manually if your camera hunts. Autofocus struggles in low-contrast fog. Focus on a dark trunk or branch edge, or switch to manual focus and use magnified live view.
• Go early. Fog often burns off quickly once the sun gets on it. The best window can be 20 minutes long.
• Don't overdo contrast or Dehaze in editing. Fog is supposed to be soft. A little Dehaze can bring back definition, but too much and you lose the very thing you were out there for. But, sometimes I even slide the dehaze slider to the left to make sure the fog is prominent.
4. Frozen Trees and Hoarfrost
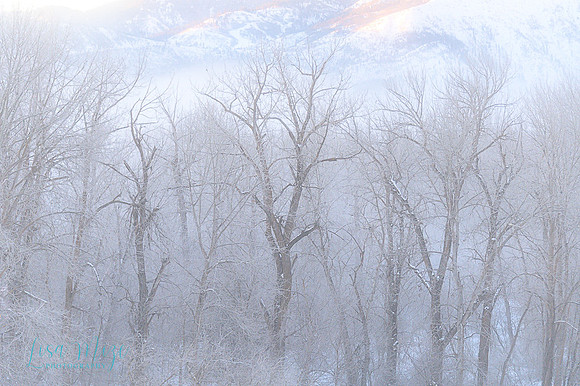
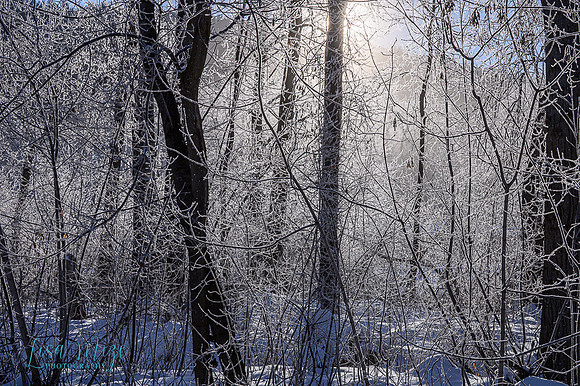
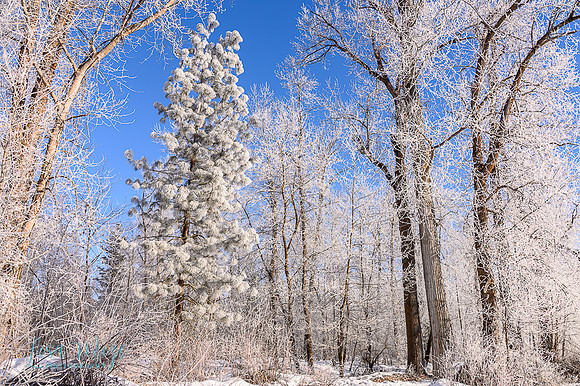
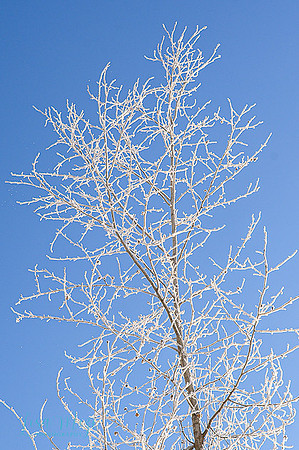
Hoarfrost forms on clear, cold, calm nights when moisture freezes directly onto branches. Rime ice forms when freezing fog blows across trees. Either way, you get those incredible white, feathery branches. They are fleeting. Once the sun warms them, or the wind picks up, they can be gone in an hour, so be in position before sunrise.
How I photograph frosted trees
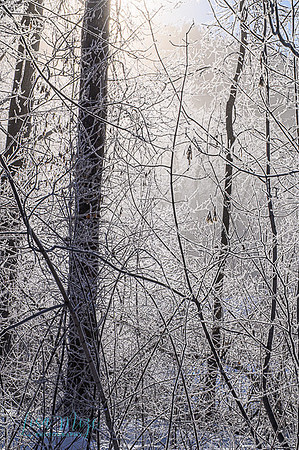
• Backlight them. Put the sun behind or to the side of the branches and every crystal lights up. This is where frost really glows!
• Find a dark background. Frosted branches against a shaded hillside or dark evergreens pop dramatically. Against a white sky they disappear.
• Fill the frame. Tight compositions of tangled frosted branches make wonderful abstract and fine-art images. Look for repeating patterns.
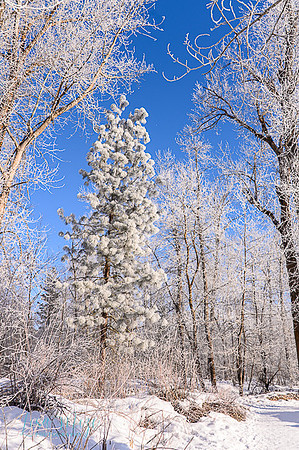
• Use a blue sky as contrast. White frost against deep blue sky is a classic winter combination. A polarizer deepens that blue, but watch for uneven darkening on wide-angle shots.
• Settings: f/8–f/11 for depth, ISO 100–400, and a fast enough shutter speed (1/250s or faster) if there's any breeze moving the branches.
5. Ice Abstracts
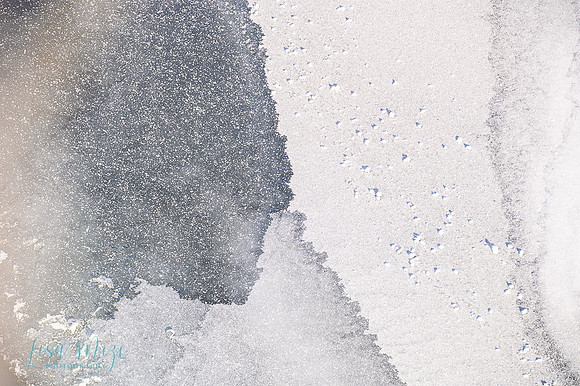
When the light gets harsh or the big scene isn't working, look down. Shoreline ice, frozen puddles and the edges of a partly frozen river are full of shapes, textures and patterns. These are some of the most unique images you'll make, because no one else will ever photograph that exact piece of ice!
• Keep your sensor parallel to the ice so the whole surface stays sharp, or use f/8–f/16 for more depth of field.
• Use a macro or a telephoto. A telephoto lets you isolate patterns out on the river safely from the bank.
• Look for contrast: clear dark ice against white frost, bubbles, cracks, frost crystals, curving edges.
• Side light brings out texture. Flat light can work too for soft, painterly abstracts.
• Stay safe. Never walk on river ice to get a shot. Shoot from solid ground!
6. Steam Fog, Diamond Dust and Shooting Into the Sun
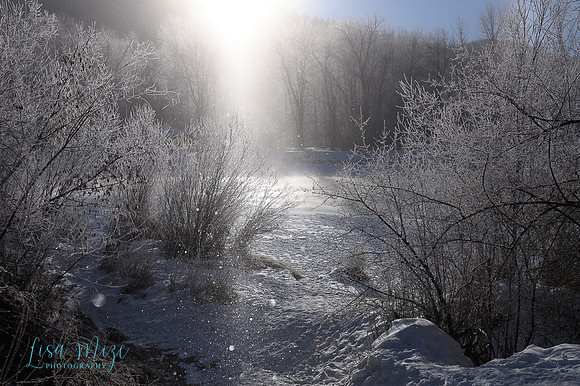
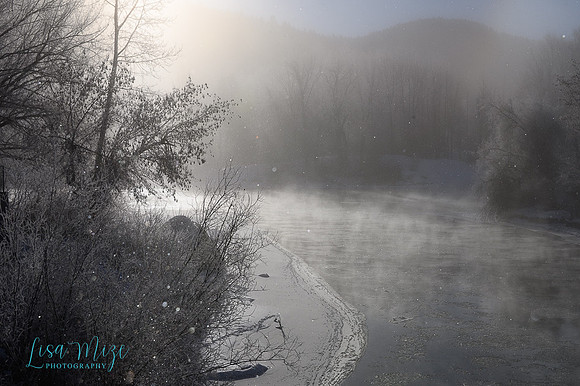
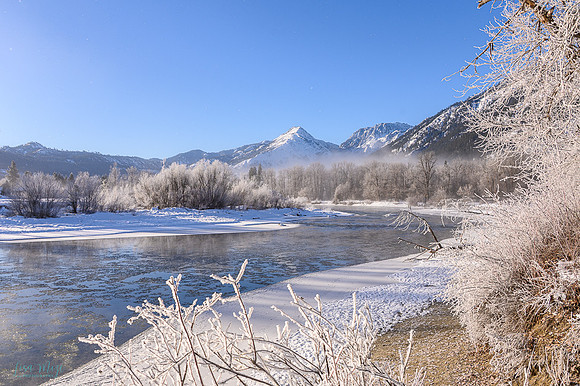
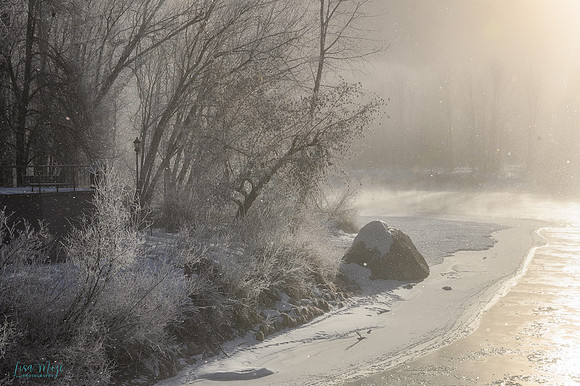
On the coldest mornings, when the air is much colder than the river water, the river starts to steam. That's called steam fog (sometimes arctic sea smoke). When the sun rises behind it, light rakes through the steam and you get glowing shafts of light. And if it's cold enough, tiny ice crystals floating in the air sparkle like glitter. That's diamond dust, and it's pure magic!
How to photograph it
• Shoot toward the sun, but with the sun just out of frame or hidden behind a tree. The shafts of light show up best when backlit.
• Expose for the highlights. If not photographing in full manual, try going the other direction, around -0.3 to -1 stop if you need help getting the right exposure. The glowing light keeps its detail and the dark trees give contrast!
• Use a lens hood and shade the front of your lens with your hand to reduce flare.
• Shutter speed changes the sparkle. A faster shutter (1/500s+) freezes diamond dust as crisp points. A slower one turns it into soft streaks. Try both.
• Work fast. This light changes minute by minute as the sun climbs and the steam lifts.
7. How to Create a Sunburst
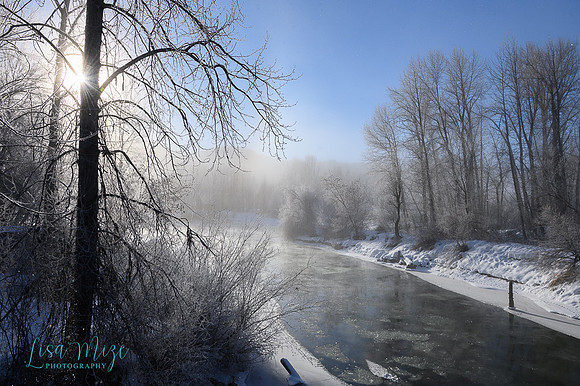
A sunburst (or sunstar) adds a wonderful bit of sparkle to a winter landscape. It's created by the aperture blades in your lens, and it's easy once you know the recipe!
• Stop down to f/16–f/22. The smaller the aperture, the sharper and more defined the points of the star.
• Partially hide the sun. Tuck the sun right at the edge of a tree trunk, branch, or mountain ridge so only a sliver peeks out. A tiny point of light makes a crisp star; a full, blazing sun just makes a blown-out blob!
• Move your feet. Shift a few inches left or right and watch the star change. This is the whole technique, and it's worth taking 10 frames to get it just right.
• Clean your lens. Every smudge shows up when you shoot into the sun.
• Know your lens. Lenses with an odd number of aperture blades make twice as many points (7 blades = 14 points). Lenses with an even number make the same number of points as blades.
• Expect some flare. Remove what you can by blocking the sun's direct line with your hand for a second frame, or clone it out later.
A quick caution: diffraction softens images a bit at f/22, so I only stop down that far when the sunburst is the point of the photo.
8. Alpenglow
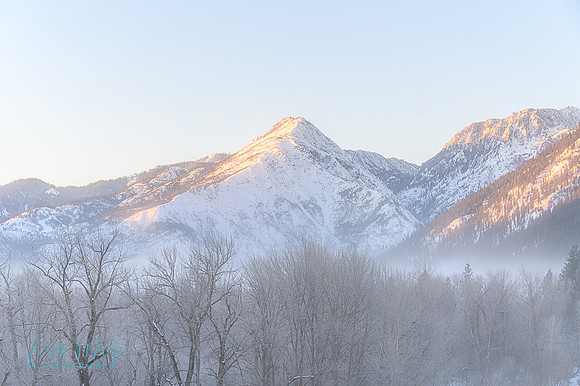
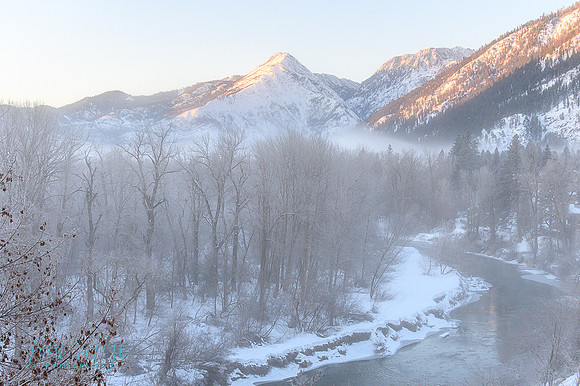
Alpenglow is that pink-to-orange glow on snowy mountains just before sunrise and just after sunset, when the peaks are lit by low light while the valley below sits in shadow. On snow, it's stunning.
• Timing: It lasts a few minutes. Be set up 20–30 minutes before sunrise (or stay put after sunset) and watch the peaks, not the sky.
• Use a tripod if needed. Light is low in the valley, so you'll often be at 1/15s or slower at ISO 100–400.
• Protect the highlights. The glowing peaks are the brightest part of the frame. Expose so the snow on the peaks keeps its detail, and lift the valley shadows later if needed. (Watch that histogram and have on your "blinkies"!)
• Combine it with fog. If there's fog in the valley at the same time, you get pink or gold peaks over a soft blue mist, and that's my favorite winter light of all!
9. Winter Composition Ideas
• Leading lines: snowy paths, rows of benches, fences and the curve of a river lead the eye straight into the scene.
• Foreground interest: frosted grasses, shrubs or a branch in the near foreground add depth to big mountain scenes.
• Frames within the frame: use frosted branches to frame a road, a building or a peak.
• Negative space: fog and snow give you room to breathe. Let a small subject sit in a big field of white.
• Warm vs. cool: a warm sunlit tree trunk against cool snow and blue sky creates lovely color contrast.
• Vertical and horizontal: shoot both. Verticals are perfect for Pinterest and print, horizontals for your website and wall art.
• Wide and tight: after the grand landscape, put on a telephoto and find the small scenes: one frosted tree, an ice pattern, a lamp post in the fog.
10. Keeping You and Your Gear Happy in the Cold
• Batteries seem drain fast and get sluggish in the cold. Carry spares in an inside pocket close to your body and swap them out as they fade. A cold "dead" battery often comes back once it warms up! So don't throw it in your camera bag just yet! Warm it up first!
• Prevent condensation. Before you go back inside or into a warm car, put your camera in a zip-top bag or closed camera bag and let it warm up slowly for an hour or more before you open it.
• Don't breathe on your lens or viewfinder. It fogs, then freezes.
• Wear layered gloves: thin liner gloves for working the camera and warm mittens over the top. Having the "screen touch" pad on your gloves helps too!
• Wrap your tripod legs or use foam leg covers so you're not grabbing freezing metal.
• Use hand warmers in your pockets and tucked near your lens to slow battery drain and lens fogging. Electric socks, gloves, vests and jackets are an added luxury when it is very cold out!
• Watch your footing. Icy riverbanks and trails are slippery. Micro spikes on your boots are worth every penny!
Your Next Step
You now have the whole toolkit: expose for white snow, set your white balance so snow stays white or fix in post, use fog for depth, backlight the frost, look down for ice, chase the steam and diamond dust, make a sunburst, and catch the alpenglow! Pick one of these this winter and go practice it on the next cold, clear morning.
Stay warm and happy shooting! —Lisa